What Balayage Actually Is
Balayage isn’t just another word for highlights. It’s a freehand coloring technique where the stylist paints color onto the hair for a more natural, sun kissed effect. Unlike traditional foil highlights, which create noticeable contrasts and defined streaks, balayage blends seamlessly from root to tip. Compared to ombré which has a starker transition between dark roots and light ends balayage is all about gradual fade and soft dimension.
So why the ongoing hype? It’s easy. Balayage grows out in a way that doesn’t scream for a touch up every six weeks. No harsh root lines, no obvious maintenance cycle. It works with your base color instead of battling it. Whether your hair is straight, curly, short, or long, balayage adapts without a fight.
There are plenty of myths floating around, so let’s clear a few up. First, balayage isn’t just for blondes it works on brunettes, redheads, even fashion shades like lavender or copper. Second, it’s not always super expensive. Partial balayage or low lift variations are options. And third, no it’s not a DIY death sentence. With patience, the right tools, and a good tutorial, at home versions are possible. Just don’t skip the prep.
Step by Step Breakdown
What to Expect at the Salon (or Doing It Yourself)
At a salon, expect a detailed consult. Your stylist will look at your hair’s texture, length, and color history before making a plan. There’s not much foiling going on here balayage is painted freehand for a reason. Section by section, your stylist will paint lightener onto the surface of the hair, staying away from the roots and focusing on mid lengths to ends. The process can take a couple of hours, especially if you’re going from dark to light. Hairdressers may use heat or wrap sections in plastic to process evenly.
Doing it yourself? Set realistic goals. Home balayage works best if you’re just adding a little brightness not a full transformation. Make sure you do a strand test. And don’t skip prep: work on unwashed hair (natural oils help protect your scalp) and divide into manageable sections.
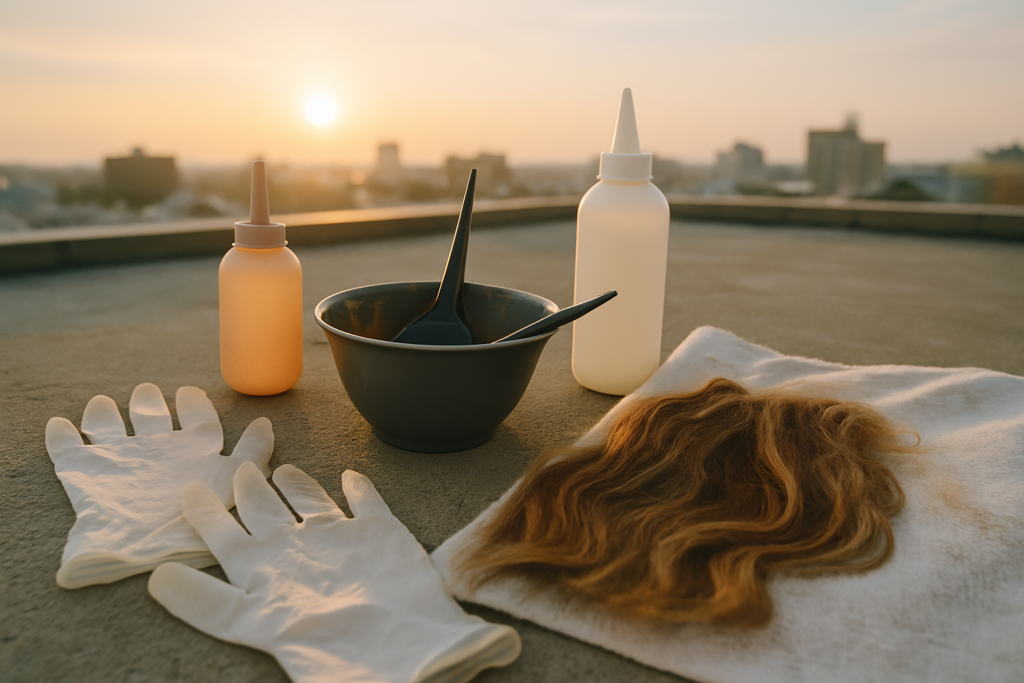
Key Tools and Products Used
Whether it’s pro or DIY, here’s the gear you’ll need:
A gentle lightening powder
20 volume developer for a slow, even lift
Precision brush for applying product
Gloves do not skip them
A paddle board or foil to support even application, especially on longer hair
Toning gloss or purple shampoo for post lightening
Avoid hardware store bleach. Invest in products made for hair if you don’t want to fry yours.
Color Placement Basics for a Natural Blend
The key to balayage that looks expensive: irregular, thoughtful placement. No straight lines. Focus on where the sun would naturally hit around the face, the ends, and the outer layers. Keep roots untouched for a softer grow out.
Your highlights should taper upward in a V shape, thin at the top, fuller toward the ends. And remember: more isn’t better here. Strategic placement will always beat blanket bleaching.
For a full breakdown of DIY balayage, check out How to achieve the perfect balayage at home. It’s an essential read if you’re flying solo.
Pro Tips For Best Results

Balayage is part art, part strategy. Start with picking the right shade for your base color. If you’ve got warm undertones, stick with golden or caramel highlights. Cooler undertones? Ashy or beige tones will look more seamless. Neutral bases have more flexibility, but don’t go too many levels lighter or it starts to scream contrast instead of blend.
Toning is your safety net. If the lift pulls too warm or brassy, use a toner to bring it back in line. But sometimes, natural lift has a charm of its own. If your result looks soft and works with your skin tone, leaving it raw is fine. Trust the mirror, not just the rulebook.
Avoiding harsh lines takes patience and finesse. Feather your brush strokes and focus on surface lightening. That soft, sun kissed finish comes from diffused product not soaking every strand. To keep things looking natural, don’t take the lightener too high near the roots unless you’re going for a bolder look.
If you’re thinking about doing it yourself, take one step back and read this first: DIY caution zone: read this before trying balayage at home. It’ll save you a pricey color correction and a lot of regret.
Aftercare That Protects Your Investment
Balayage might be low maintenance, but it’s not no maintenance. If you want that tone and softness to stick around, there are a few habits worth locking in.
First, drop the sulfates. Seriously. Sulfate heavy shampoos strip hair color faster than you can say “brassy.” Use a sulfate free shampoo every wash to help preserve tone and keep your strands from drying out.
Next: learn the difference between a touch up and a gloss. A full touch up means re lightening or rebalancing your balayage usually every 3 4 months. A gloss, on the other hand, is your in between savior. It refreshes the tone, boosts shine, and fights off brass without hitting the bleach again. For most, a gloss every 4 6 weeks keeps things looking salon fresh.
Lastly, hydration isn’t optional. Lightened hair needs moisture to stay soft and strong. Look for masks with proteins, oils, or keratin. Do a deep treatment once a week non negotiable. If your hair feels dry halfway down the strand, you’re already late.
Skip these steps, and you’ll be back in the chair sooner than you think. Stick with them, and your balayage stays vibrant, wearable, and worth every dollar you spent.
Extra Notes for First Timers
Before diving into balayage, have a real talk with your stylist. Bring photo inspo more than one. What looks good on Pinterest may not translate directly to your texture, base color, or cut. A stylist can help set expectations and tailor the look so it actually works for you.
If you’re going the DIY route, do not skip the strand test. Seriously. It’s the only way to predict how your hair will lift and whether the tone will come out as planned. It also helps avoid nasty surprises like breakage, blotchiness, or unexpected shades of orange.
Lastly, don’t freak out if the color looks a little intense right after rinsing. Most balayage tones go through what’s called a settling phase, usually in the first week. The color softens, the highlights blend more with your natural base, and everything just looks better with a bit of time (and a few washes).
What Makes Balayage Still Trend proof
Balayage has stuck around for a reason it just works. Long hair, short hair, curls, coils, pin straight strands it doesn’t discriminate. Stylists can adapt the technique to flatter pretty much any texture or cut. That makes it a safe bet whether you’re growing out a bob or rocking natural volume.
One of the biggest draws? Low maintenance. Because the color is hand painted and feathered into the hair in soft sweeps, there’s no harsh root line when it grows out. You can go months between salon visits without your hair looking awkward or worse, neglected.
On top of that, balayage is flexible. Want to keep it soft and sun kissed? Easy. Want something bold and high contrast? Also doable. Whether you’re easing into color or chasing a full on glow up, balayage fits the bill without locking you into a style corner.
 Product Review Expert
Marta is the product guru of the team, with a keen eye for discovering the best hair care products available. She meticulously tests and reviews shampoos, conditioners, styling tools, and treatments to give readers honest, in-depth insights. Marta’s expertise ensures that only the highest quality products are recommended, making her reviews an essential guide for anyone looking to invest in their hair care routine.
Product Review Expert
Marta is the product guru of the team, with a keen eye for discovering the best hair care products available. She meticulously tests and reviews shampoos, conditioners, styling tools, and treatments to give readers honest, in-depth insights. Marta’s expertise ensures that only the highest quality products are recommended, making her reviews an essential guide for anyone looking to invest in their hair care routine.