Benefits of Coloring Your Hair at Home
Coloring hair at home offers numerous advantages that can’t be ignored.
Cost Efficiency
Professional salon treatments cost significantly more than home coloring kits. On average, a salon visit can range from $50 to $150, while home kits typically cost between $10 and $30. This price difference allows for regular touch-ups without breaking the bank.
Convenience
Home coloring allows for flexibility in timing. Instead of scheduling an appointment weeks in advance, you can choose a time that fits your schedule. This is especially beneficial for those with busy lives or limited availability.
Customization
DIY kits offer a wide range of colors and customization options. In salons, stylists often push for conventional shades, whereas home kits let you experiment with bold, trendy colors. This freedom encourages creativity and personal expression.
Learning Experience
Coloring your hair at home provides valuable skills. Understanding the process, from mixing dye to application techniques, enhances your knowledge of hair care. This not only boosts confidence but also prepares you for future DIY beauty endeavors.
Immediate Results
There’s no waiting list or delay when you color at home. Once you decide to change your look, you can begin the process right away and see immediate results. This instant gratification is both satisfying and motivating.
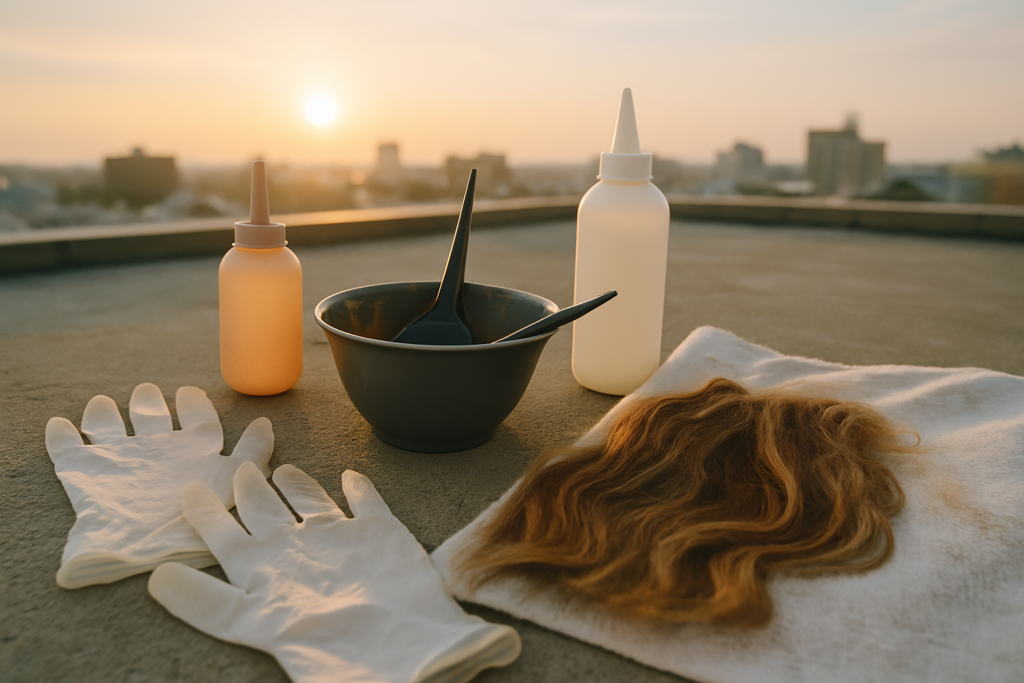
Essential Tools and Products

Selecting the right tools and products ensures successful at-home hair coloring. Here’s a detailed look at what you need:
Hair Dye Options
Choosing the right hair dye is crucial. Permanent dyes give long-lasting color and are ideal for complete transformations. Semi-permanent dyes last through several washes, making them perfect for temporary changes or experimenting with new shades. Demi-permanent dyes fall between the two, offering subtle changes without harsh chemicals. Always check labels for ingredients and compatibility with your hair type.
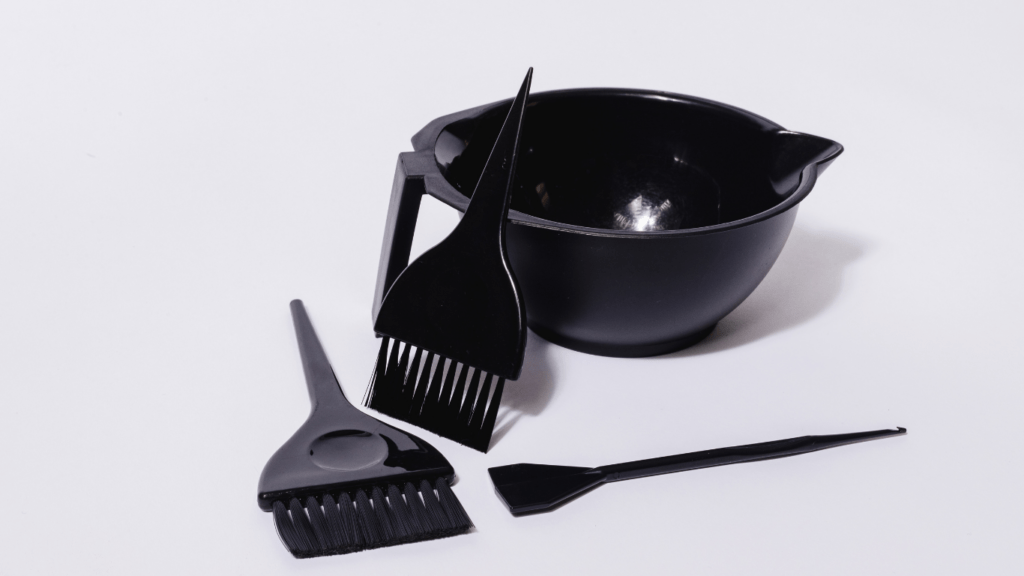
Application Tools
Proper application tools make the process smoother. I always use a mixing bowl and applicator brush for even color distribution. A wide-tooth comb helps in sectioning hair, ensuring thorough coverage. Clips are essential for keeping sections separate. Adding a timer keeps track of processing time, preventing over-coloring.
Protective Gear
Protection is key when coloring at home. Gloves shield hands from staining. An old towel or cape protects clothing from stray dye. Plastic wrap or a shower cap is useful for covering hair, maintaining moisture, and preventing messes. Also, always keep a barrier cream handy to prevent skin staining along the hairline.
Preparing for Hair Coloring
Getting ready for hair coloring involves several essential steps. These ensure a smooth, effective process without complications.
Choosing the Right Color
Select a color that complements your skin tone and natural hair color. For beginners, it’s best to choose a shade close to your current color, avoiding drastic changes. Look for brands that offer shade charts and online tools to visualize results.
Performing a Patch Test
Perform a patch test at least 48 hours before coloring to avoid allergic reactions. Apply a small amount of dye to an inconspicuous area of skin, like behind the ear or the inner elbow. Wait for any signs of irritation, redness, or itching before proceeding.
Setting Up Your Workspace
Prepare your workspace to maintain cleanliness and organization. Cover surfaces with old newspapers or plastic sheets to protect from spills. Gather all necessary tools and products within reach, including the dye, applicator brush, bowl, gloves, comb, and timer. Ensure good lighting and a mirror for clear visibility during application.
Step-by-Step Guide to Coloring Your Hair
Coloring your hair at home can be a rewarding experience if done right. I’ll guide you through each step to ensure the best results.
Pre-Coloring Care
Ensure your hair’s in good condition before applying color. This stage involves specific actions:
- Wash Hair 24-48 Hours Before: Clean hair can help the color adhere better, but natural oils protect the scalp during the process.
- Avoid Conditioner: Skip conditioner during your last wash. It can create a barrier, impacting color absorption.
- Perform a Strand Test: Test the color on a small section first. This shows the final color outcome and confirms no adverse reactions.
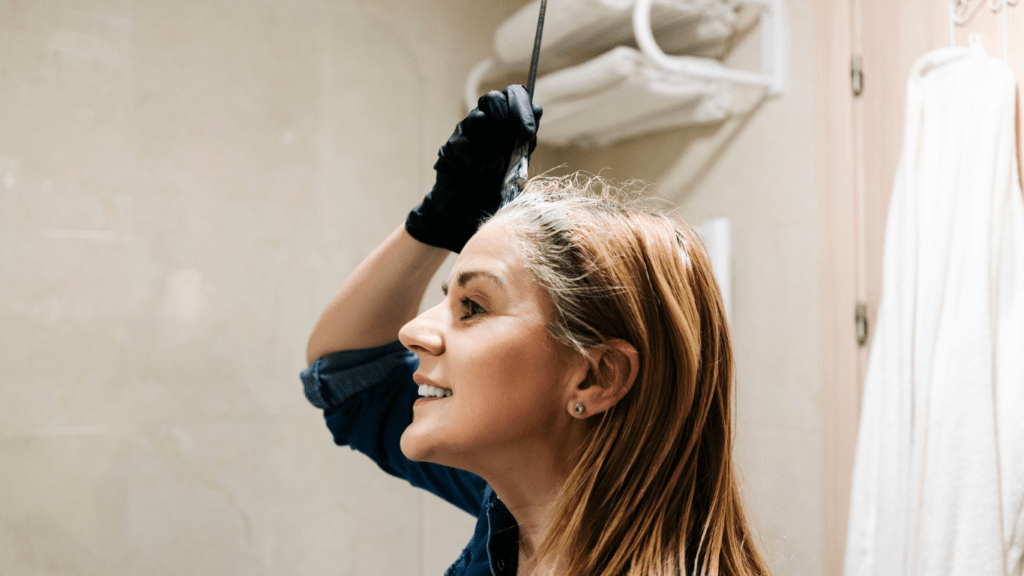
Applying the Color
Apply the hair color methodically to get even results. Follow these steps:
- Section Hair: Divide hair into four sections using clips. This helps in applying the color evenly.
- Mix Color: Follow the dye instructions precisely. Mix the color and developer in a bowl.
- Apply to Roots: Start applying color at the roots. Use an applicator brush for precision.
- Spread Evenly: After roots, apply the color from mid-lengths to ends. Use a wide-tooth comb to distribute the dye evenly.
- Set a Timer: Follow the recommended time on the dye package. Use a timer to avoid over-processing.
Post-Coloring Care
After coloring, take steps to maintain and protect your new color:
- Rinse Thoroughly: Rinse with lukewarm water until the water runs clear. Avoid using shampoo immediately.
- Use a Color-Safe Shampoo and Conditioner: Maintain your color longer by using products designed for color-treated hair.
- Apply a Deep Conditioner: Use a deep conditioner or hair mask to restore moisture lost during the coloring process.
- Avoid Heat Styling: Limit the use of heat tools, like blow dryers and straighteners, for the first few days. If necessary, use a heat protectant spray.
Following these steps ensures a successful at-home hair coloring experience.
Common Mistakes to Avoid
Coloring hair at home can yield professional results if you steer clear of these common mistakes. Avoiding these pitfalls ensures better, longer-lasting outcomes.
Overlapping Previously Colored Hair
Applying new color on top of previously colored sections can lead to uneven tones and damaged hair. When coloring roots, apply the dye only to the new growth. Use an applicator brush for precision, making sure not to overlap the dye onto the older color. If needed, refresh the color on the rest of the hair in the last 5-10 minutes to avoid excessive damage.
Ignoring Timing Instructions
Leaving the dye on for too long or washing it out too soon can both lead to unsatisfactory results. Follow the timing instructions on the box precisely. Set a timer as soon as you finish applying the color. If mixed products stay too long, they can lead to over-processing, while under-timing can result in faded or uneven color.
Skipping Conditioning Steps
Conditioning is crucial post-coloring to maintain hair health and vibrancy. Always use the conditioner provided with the coloring kit after rinsing out the dye. Consider applying a deep conditioner once a week to keep hair moisturized and reduce frizz. Proper conditioning helps protect the color and keeps hair soft and manageable.
 Men’s Hair Care Specialist & Author
Araceline is a unique and valuable contributor, bringing her expert knowledge of men’s hair care and grooming trends. As an experienced author, she shares her deep understanding of hair painting, coloring techniques, and the specific needs of men’s hair. Araceline’s articles are both informative and engaging, offering men practical advice on maintaining stylish, healthy hair.
Men’s Hair Care Specialist & Author
Araceline is a unique and valuable contributor, bringing her expert knowledge of men’s hair care and grooming trends. As an experienced author, she shares her deep understanding of hair painting, coloring techniques, and the specific needs of men’s hair. Araceline’s articles are both informative and engaging, offering men practical advice on maintaining stylish, healthy hair.