Understanding Balayage
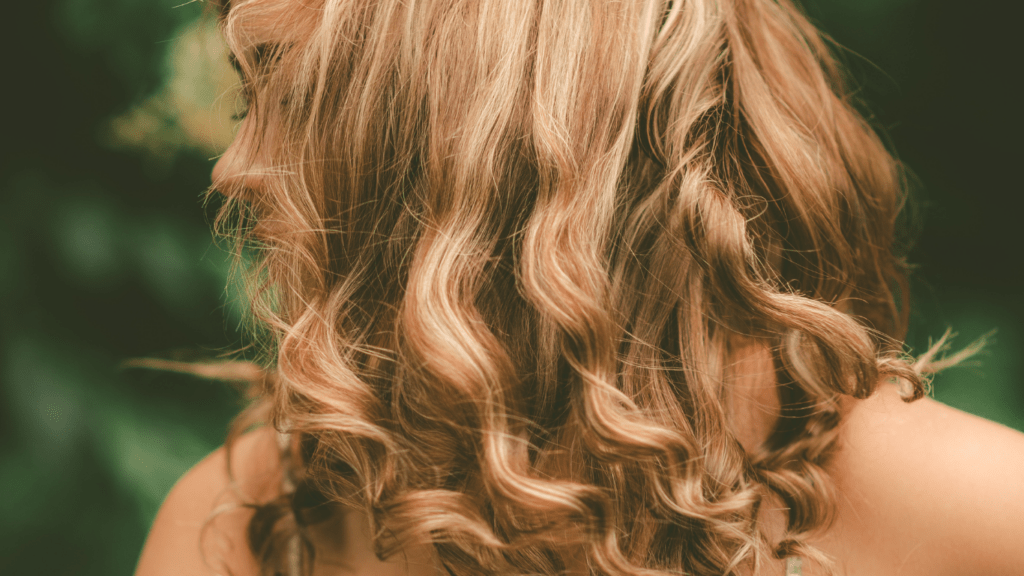
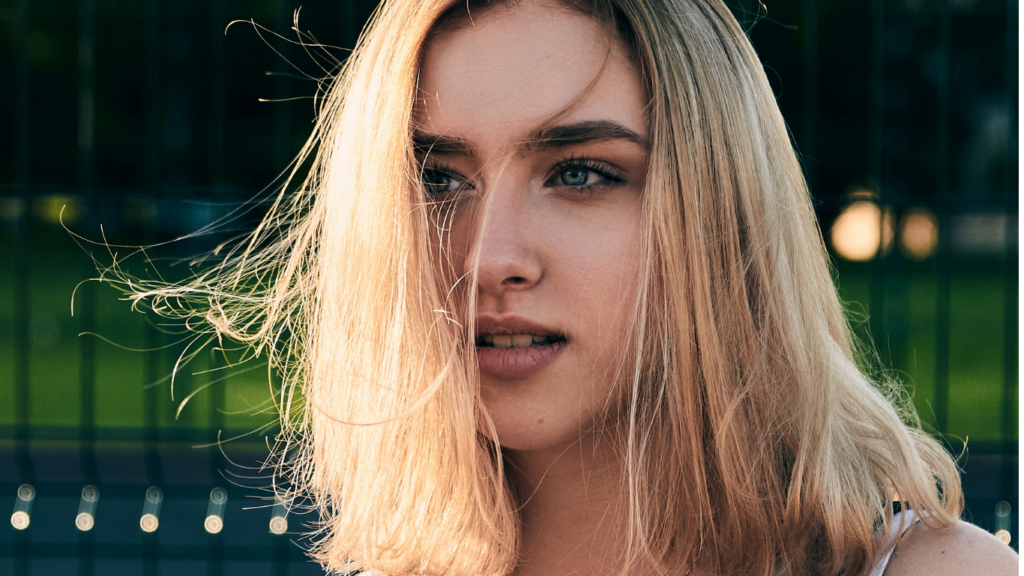
Balayage, a French word meaning “sweeping,” refers to a hair coloring technique giving a natural, sun-kissed look. It’s popular for its versatility and low-maintenance appeal.
What Is Balayage?
Balayage involves hand-painting highlights onto the hair, creating a gradual, blended effect. Unlike traditional foil highlights, it doesn’t use foils or caps. Stylists use a brush, painting lightener directly onto the surface.
This technique results in softer regrowth lines and a more natural appearance. Famous examples include the balayage looks often seen on celebrities like Jennifer Aniston and Jessica Biel.
- Natural Look: The highlights mimic the way the sun naturally lightens hair.
- Low Maintenance: Less frequent touch-ups needed since the blend grows out gracefully.
- Versatile: Suitable for all hair types and lengths, making it ideal for anyone looking for a natural enhancement.
- Adds Dimension: Provides depth and dimension, enhancing overall hair aesthetics.
Preparing for Your Home Balayage
Proper preparation ensures a successful home balayage. Gather the right tools and select the perfect colors.
Essential Tools and Products
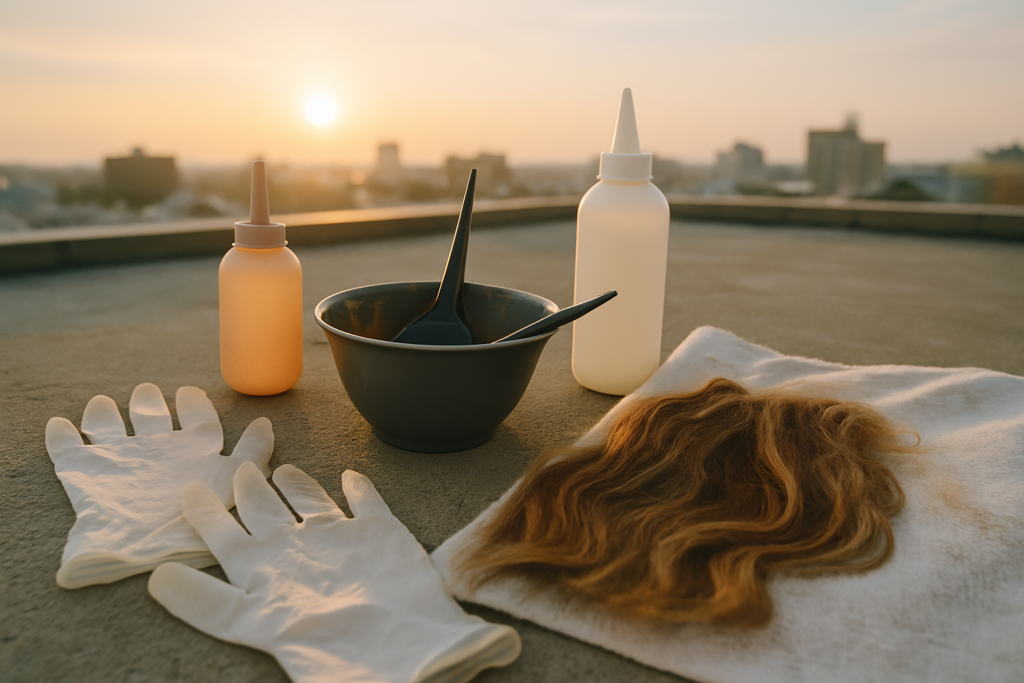
You’ll need these tools and products for your home balayage:
- Balayage Board and Brush: For precise application and better control.
- Hair Clips: To section hair and keep layers separated.
- Gloves: To protect your hands from chemicals.
- Mixing Bowl: For combining the bleach and developer.
- Bleach and Developer: Choose based on your hair type and color.
- Toner: To neutralize brassy tones.
- Conditioning Treatment: To maintain hair health post-application.
Having these items ensures a smoother and cleaner process.
Choosing the Right Colors
Selecting the correct colors impacts the final look. Consider these factors:
- Natural Hair Color: Choose shades that complement your base color.
- Skin Tone: Warm undertones work well with golden hues, while cool tones suit ash shades.
- Desired Lightness: Decide how light you want the highlights.
Understanding these aspects helps create a balanced, natural-looking balayage.
Step-by-Step Guide to Achieving Balayage at Home

Here’s how to achieve the perfect balayage at home, following a step-by-step guide based on expert techniques.
Preparing Your Hair
Start by ensuring your hair is clean and dry. Dirty hair interferes with color application. Use a clarifying shampoo to remove product buildup and let your hair dry completely. If your hair’s condition is less than optimal, apply a deep conditioning treatment a few days prior to balayage to strengthen and hydrate it.
Sectioning Your Hair
Divide your hair into manageable sections. Use your comb to create four main sections: front left, front right, back left, and back right. Secure each section with hair clips. This separation helps control the application process, ensuring even and consistent results.
Applying the Balayage
Begin with the back sections first to allow for even processing time. Wear your gloves, mix the bleach and developer in the bowl, and use the balayage brush to apply the mixture. Paint the bleach onto small hair strands in a sweeping motion, starting from mid-lengths to the ends while avoiding the roots. Blend the color upward for a gradual effect.
Repeat this process for all sections, working your way to the front sections last. After application, let the bleach process for the recommended time on the packaging, checking your hair periodically. Once the desired lightness is achieved, rinse thoroughly, apply toner if needed, and finish with a conditioning treatment to restore moisture.
Tips and Tricks for a Flawless Balayage
Achieving a flawless balayage at home is possible with the right techniques and understanding of timing. Follow these tips to get salon-worthy results.
Blending Techniques
Blending is crucial for a natural balayage look. I use the V-shaped or W-shaped application method to create a seamless gradient transition. This involves painting the bleach in a V or W shape on each section to avoid harsh lines.
Blur the edges of the bleach by using a dry brush to gently feather the product away from the roots and toward the ends. This creates a soft diffusion of color. Ensuring even saturation by consistently combing through the sections prevents patchiness.
Timing and Processing
Timing impacts the final color outcome and hair health. Monitoring the process every 5-10 minutes ensures the hair doesn’t over-process. My usual processing time varies between 30-45 minutes but depends on the desired lightness and hair’s starting color.
To prevent damage, I use a lower volume developer for longer processing. After reaching the desired lightness, rinsing immediately with cool water halts the chemical process. Toning as necessary neutralizes any unwanted brassy tones.
Following these tips closely ensures a smooth and successful at-home balayage application. Consistency and attention to detail in blending and timing lead to that flawless, sun-kissed look.
Aftercare for Balayage Hair
Proper aftercare ensures balayage remains vibrant and hair stays healthy.
Maintaining Your Color
Use sulfate-free shampoos to prolong the color. Sulfates strip natural oils and fade balayage. Apply color-safe conditioners that provide hydration and lock in color. Rinse hair with cool water to seal the cuticle and enhance shine. Avoid daily washing to preserve the balayage. Stretch washes to every 2-3 days to maintain vibrancy. Opt for dry shampoo between washes to keep hair fresh.
Protecting Hair Health
Deep condition weekly to restore moisture. Choose treatments with natural oils and proteins for best results. Apply heat protectant before using styling tools to prevent damage. Limit heat styling to reduce stress on your hair. Trim regularly, every 6-8 weeks, to remove split ends and keep hair looking fresh. Protect hair from UV damage by wearing hats or using UV-protection sprays when outdoors.


 Men’s Hair Care Specialist & Author
Araceline is a unique and valuable contributor, bringing her expert knowledge of men’s hair care and grooming trends. As an experienced author, she shares her deep understanding of hair painting, coloring techniques, and the specific needs of men’s hair. Araceline’s articles are both informative and engaging, offering men practical advice on maintaining stylish, healthy hair.
